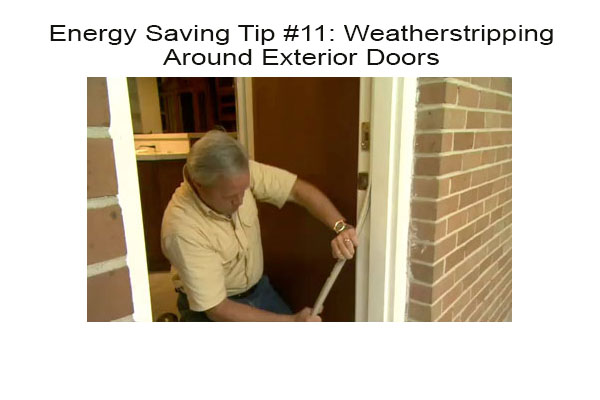
Exterior doors come with weatherstripping that helps seal energy-wasting air leaks around door edges. But over time, the foam or plastic material will wear out, fall out, or lose its resiliency.
“A 1/32” gap around the edge of an entry door can let in as much cold air as a two-inch hole smack in the center. Imagine how that would feel on a wintry day.” ~Ron Hazelton
 Luckily, this is an easy DIY project! Weatherstripping is inexpensive, and in just a few minutes you can make your door work like new again. And those few minutes are well worth it! Check out Ron Hazelton’s video instructions.
If you’re not sure what kinds to get, simply bring a section of your old weatherstripping material to the hardware store or home center, and buy the same kind to install.
How do you know if your door needs new weatherstripping? Try the Candle Test.
On a windy day, light a candle letting it burn for a few moments. Then blow out the flame while next to your closed door and watch where the smoke goes. Drafts will disturb the rising smoke plumes and show you where you could use better weatherstripping.
Check out more tips from Ray Tschoepe of OldHouseOnline.com.
Of course, if you’re in market for a brand new exterior door, look for one that is EnergyStar rated! Visit MoneyPit.com for more information!
Close the door on energy waste and enjoy a more comfortable home this winter!
Note: this is just one of 99 Energy Saving Tips we’re publishing on My Home Science (in random order). Some tips are DIY and some require a professional. But they’re ALL designed to save energy!
 vs Closed (Encapsulated)")